Tiling is a meticulous process that requires the right tools to achieve a professional finish. Whether you’re a DIY enthusiast or a professional tiler, having the correct equipment ensures efficiency, precision, and high-quality results. This guide outlines the essential tools needed for wall and floor tiling, from preparation to the final finish.
1. Tools for Surface Preparation
Before tiling, a well-prepared surface is critical for durability and appearance:
- Spirit Level: Ensures the surface is even and tiles are aligned properly.
- Tape Measure: For accurate measurements of the area and tiles.
- Tile Levelling Systems: Use Spin, T-Spin, or Wedge Levelling Spacers to eliminate lippage and ensure perfectly aligned tiles.
- Scraper or Putty Knife: Removes old adhesive or debris from the surface.
- Primer: Prepares porous surfaces for better adhesive bonding.
2. Tools for Cutting Tiles
Cutting tiles to fit edges and corners is an inevitable part of tiling. The right tools make this task precise and manageable:
- Tile Cutter: A manual cutter is perfect for straight cuts on ceramic or porcelain tiles.
- Tile Nippers: Used for small, irregular cuts or shaping tiles to fit around pipes and fixtures.
- Wet Saw: Essential for cutting large or thick tiles like natural stone or porcelain.
- Diamond Drill Bit: For cutting holes in tiles to fit pipes or fixtures.
3. Tools for Applying Adhesive
Even application of adhesive is essential for secure and long-lasting tiles:
- Notched Trowel: Available in various sizes (6mm, 10mm, 12mm), it ensures the adhesive spreads evenly for proper tile bonding.
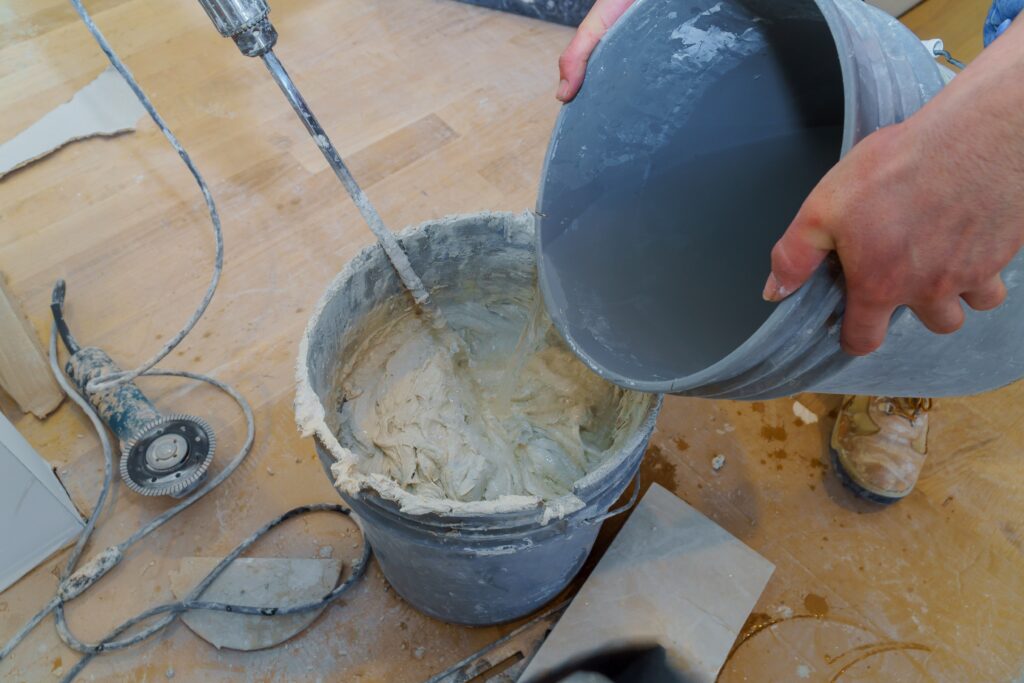
- Mixing Paddle: Attaches to a drill for effortless mixing of adhesive or grout to the right consistency.
Explore high-quality tile adhesives at The Tilers Hub.
4. Tools for Grouting
Grouting not only fills the gaps between tiles but also adds to their appearance and stability:
- Rubber Grout Float: Helps spread grout evenly and push it into joints.
- Grout Sponge: Cleans excess grout off tile surfaces while smoothing grout lines.
- Sealant Gun: For applying silicone sealant around edges and corners.
Shop grouts from trusted brands like Kerakoll, UltraTile, and Ardex.
5. Tools for Cleaning and Finishing
The final step is to clean and polish the tiles for a flawless finish:
- Tile Sponge: Removes haze left by grout.
- Bucket and Water: For mixing materials and cleaning tools.
- Cleaners & Protectors: For sealing tiles, removing grout haze and protecting grout.
6. Additional Tools for Tiling Projects
Depending on the complexity of your project, you may need additional tools:
- Knee Pads: Protect your knees during prolonged tiling sessions.
- Tile Spacers: Ensure uniform grout lines and consistent gaps. Learn more about spacers here.
- Tile Levelling System: Crucial for large-format tiles or uneven substrates.
7. When to Hire a Professional Tiler
If you’re unsure about using these tools or tackling a complex design, consider hiring a professional tiler. They’ll have the experience and expertise to deliver a flawless finish with minimal stress.
Conclusion
The right tools are essential for a smooth and successful tiling project. From preparation and cutting to grouting and finishing, each tool plays a critical role in ensuring professional results. Visit The Tilers Hub for a comprehensive selection of tiling tools, adhesives, and accessories to equip yourself for your next project.
