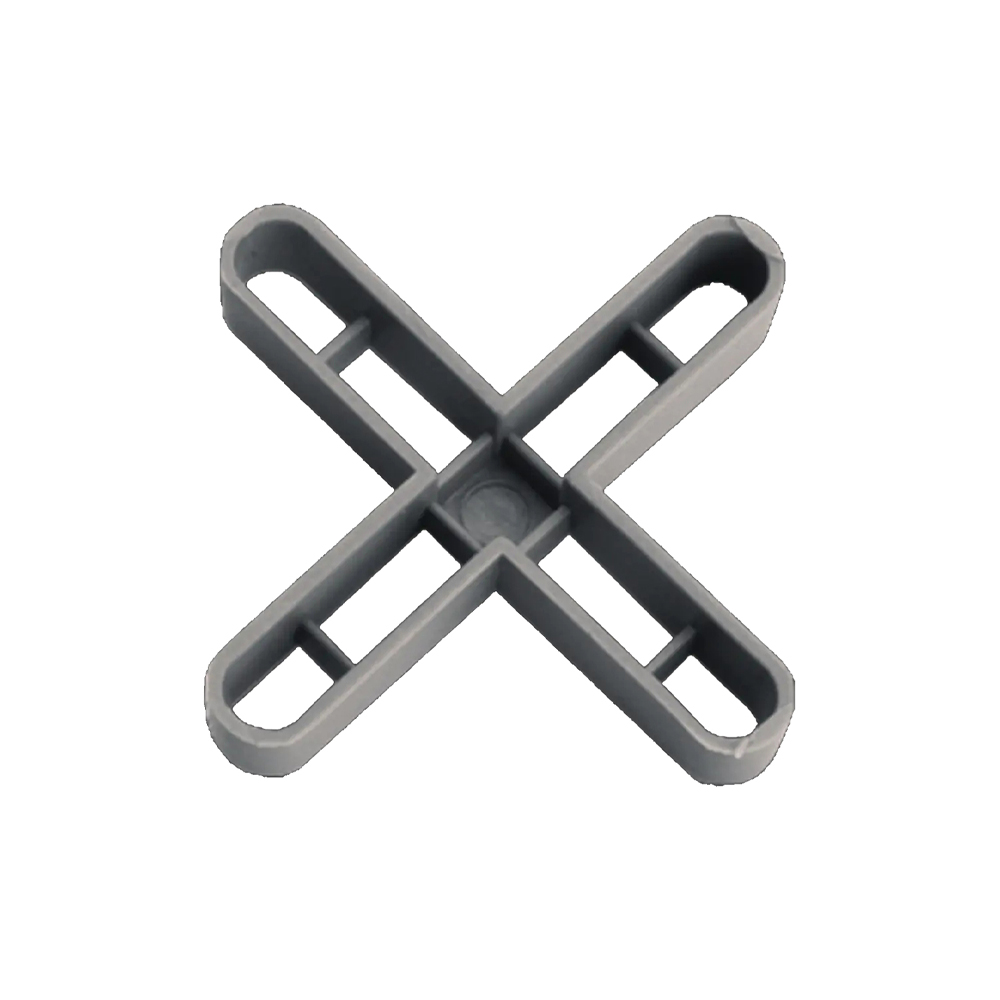
Tile spacers are a critical tool for creating clean, even grout lines and achieving a professional finish in tiling projects. Combined with levelling wedges, they make it easy to align tiles perfectly, ensuring a consistent and symmetrical look. This guide will help you choose the right spacers and levelling wedges for your project, covering their types, uses, and benefits.
1. What Are Tile Spacers and Levelling Spacers?
- Tile Spacers: Traditional plastic pieces that maintain consistent gaps between tiles, ensuring even grout lines.
- Levelling Spacers: A more advanced tool combining spacing and levelling, ideal for eliminating lippage and achieving perfectly flat surfaces. These spacers typically include clips and either wedges or spinning mechanisms.
2. Types of Tile Spacers
Tile spacers come in various designs tailored to different layouts:
- Cross Spacers (+): Ideal for grid or straight-lay patterns.
- T-Spacers (T): Designed for staggered or brick-bond layouts.
- Wedge Spacers: Adjustable and versatile, often used for irregular surfaces or unique designs.
3. Types of Levelling Spacers
Levelling spacers enhance tile alignment by eliminating height differences between tiles (lippage). The main types include:
- Spin Levelling Spacers:
- Feature a rotating cap that tightens onto a clip to level tiles.
- Easy to use and suitable for beginners and professionals.
- T-Spin Levelling Spacers:
- Combine a T-spacer design with a spinning cap for both alignment and layout consistency.
- Ideal for staggered patterns or complex designs.
- Levelling Wedge Systems:
- Use a clip and wedge mechanism to align tiles to the same height.
- Excellent for larger tiles or areas prone to unevenness.
4. Choosing the Right Spacer Size
Spacer size determines the grout line width, impacting the overall aesthetic and functionality:
- 1-2mm Spacers: For sleek, modern designs with narrow grout lines.
- 3-5mm Spacers: Standard for most indoor wall and floor tiles.
- 5-10mm Spacers: Best for large-format tiles or outdoor projects where wider joints are necessary.
5. How to Use Tile Spacers and Levelling Spacers
- Place Traditional Spacers: Insert spacers at tile corners for consistent gaps.
- Use Levelling Spacers:
- Insert the base clip under adjacent tiles.
- Add the wedge or spin the cap to level the tiles.
- Tighten until the tiles are flush and aligned.
- Check Alignment: Use a spirit level to ensure tiles are even.
- Remove Before Grouting: Once the adhesive sets (typically after 24 hours), remove all spacers and levelling components.
6. Benefits of Using Levelling Spacers
- Precision: Achieve even grout lines and perfectly level surfaces.
- Efficiency: Reduce installation time and effort.
- Professional Results: Minimise lippage for a flawless finish.
7. Recommended Products at The Tilers Hub
The Tilers Hub offers a range of spacers, levelling systems, and accessories:
- Levelling Spacers: Shop Levelling Spacers
- Traditional Tile Spacers: Browse Accessories
8. When to Call a Professional Tiler
If you’re working on a large project or using intricate designs, consider hiring a professional tiler. They have the expertise and tools, such as advanced levelling spacers, to ensure a seamless and polished result.
Conclusion
Tile spacers and levelling spacers are essential for achieving a professional-quality tiling project. By choosing the right type and size, you can create consistent grout lines and level surfaces with ease. Visit The Tilers Hub to explore our comprehensive range of spacers, levelling systems, and other tiling tools.
