Introduction
A crucial aspect of tiling projects is establishing a durable, long-lasting, and visually appealing result. In addition to selecting the right tiles, the foundation on which they are installed is of utmost importance. This comprehensive guide explores the world of tile backer boards, their benefits, types, installation techniques, and why they are essential for any successful tiling project.
Understanding Tile Backer Boards
Tile backer boards are specially designed materials that provide a stable and moisture-resistant surface for tile installation. They offer superior performance in terms of strength, stability, and protection against moisture-related issues. These boards serve as an alternative to traditional substrates such as plywood and drywall, ensuring a solid foundation for your tile installations.
Benefits of Using Tile Backer Boards
The use of tile backer boards brings numerous benefits to your tiling projects:
Moisture Resistance: Backer boards prevent water damage, mould growth, and tile delamination, making them perfect for areas prone to water exposure.
Strength and Stability: They offer a rigid surface that supports the weight of tiles, reducing the risk of flexing and cracking.
Thermal Insulation: Some backer boards possess inherent thermal insulation properties, enhancing energy efficiency and comfort in your spaces.
Ease of Use: Backer boards are lightweight, easy to cut, and can be installed using standard carpentry tools, providing flexibility in project design.
Types of Tile Backer Boards
There are various types of tile backer boards available to cater to different project needs:
Cementitious Backer Boards: Made from cement, sand, and reinforcing fibres, these boards are durable, water-resistant, and fire-resistant, suitable for both floors and walls. The 18mm and 22mm versions are commonly used over the top of wet underfloor heating due to how they disperse the heat evenly.
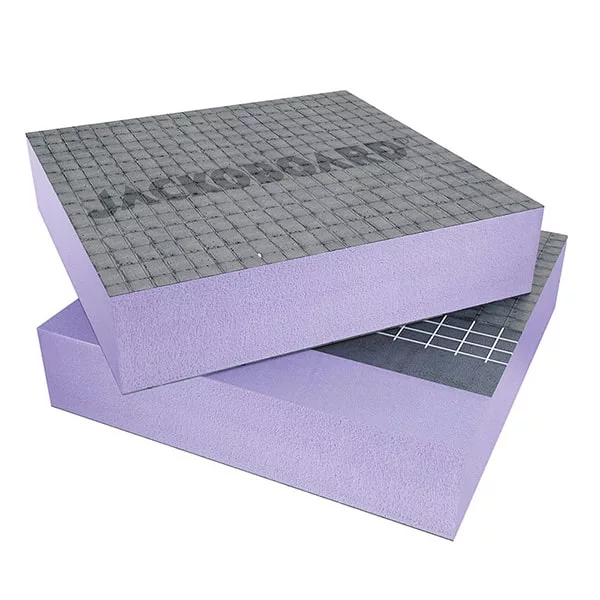
Foam Backer Boards: These boards, made from extruded or expanded polystyrene foam, offer excellent thermal insulation, and are commonly used below electric underfloor heating systems.
Installation
Ensure the surface is clean, dry, and free from debris. Apply a waterproofing membrane if necessary.
Cutting and Fitting: Measure and cut the boards to fit the area using a utility knife or specialized backer board cutter. Leave small gaps for expansion.
Securing the Boards: Attach the backer boards to the substrate using screws or adhesive, following the manufacturer’s recommendations. Use fiberglass mesh tape to reinforce joints.
Sealing and Waterproofing: Seal joints and fastener holes with a suitable waterproofing sealant to prevent water penetration.
Tile Installation: Once the backer boards are properly installed and sealed, proceed with standard tile installation techniques to complete your project.
Conclusion
Incorporating tile backer boards into your tiling projects ensures a solid foundation, leading to a durable and visually appealing result that stands the test of time.
