Achieving a flawless finish in any tiling project is as much about the technique as it is about the quality of the grout used. In this comprehensive guide, we’ll explore advanced grouting techniques and delve into how specific products Kerakoll Fugabella Grout, TileMaster Grout 3000, and UltraTile Grout—can elevate the quality of your tiling projects.
Understanding Grout and Its Importance
Grout plays a crucial role not only in the aesthetic appeal of a tiled surface but also in its longevity and durability. It fills the spaces between tiles, prevents moisture and debris from getting underneath, and adds stability to the tiled surface.
Preparing for Grouting
Surface Preparation
A clean, dry, and stable surface is key. Ensure that your tiles are firmly set and the adhesive has fully cured. Remove any spacers and clean the joints of debris and dust.
Choosing the Right Grout
Select a grout that complements your tile’s color and the project’s overall aesthetic. Consider the area’s usage; for example, areas exposed to moisture require a waterproof or epoxy-based grout.
Spotlight on Grout Choices
Fugabella Grout
Kerakoll Fugabella offers a range of colours and is renowned for its durability and ease of application. It’s suitable for both indoor and outdoor use, providing a smooth finish that resists cracks and shrinkage.
TileMaster Grout 3000
TileMaster Grout 3000 is a versatile product suitable for a wide range of tiles. It boasts anti-mold and water-repellent properties, making it an excellent choice for bathrooms and kitchens.
UltraTile Grout
UltraTile Grout is known for its rapid setting and hardening capabilities, it hard sets within 12 hours which makes it ideal for projects that require a quick turnaround. It offers a high level of resistance to wear and tear, making it suitable for high-traffic areas.
Mixing and Applying Grout
Mixing
Follow the manufacturer’s instructions for mixing. Achieve a consistent, lump-free paste, which should not be too runny or too thick.
Applying
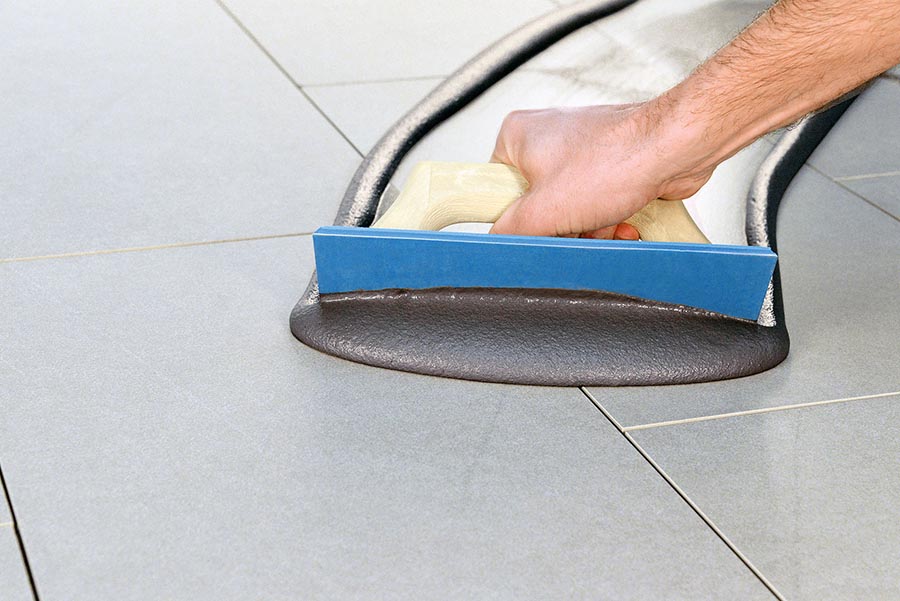
Using a grout float, apply the grout diagonally across the tiles to fill the joints completely. Work in small sections to ensure the grout is pressed firmly into the joints. There are huge range of grouting tools available to make the job easier.
Finishing Touches for a Flawless Finish
Cleaning
Wipe away excess grout with a damp sponge, being careful not to remove grout from the joints. Rinse the sponge frequently.
Curing
Allow the grout to cure as recommended by the manufacturer. Avoid exposure to water and foot traffic during this period.
Sealing
Consider applying a grout sealant to porous grout to protect it from staining and moisture penetration.
Advanced Techniques for Professional Results
Perfecting the Mix
The key to a smooth application lies in the consistency of your grout mix. Adjust the mix according to the ambient temperature and humidity levels to control the curing time.
Attention to Detail
Use a pointed tool to clean any excess grout from the tile surface before it fully dries. This will prevent haze and ensure a clean, crisp finish.
Colour Consistency
To maintain colour consistency, mix enough grout to complete the entire project, blending multiple batches if necessary.
Conclusion
A flawless finish in tiling is achievable with the right techniques, preparation, and choice of grout. Fugabella, TileMaster Grout 3000, and UltraTile Grout each offer unique benefits that can be leveraged to achieve professional-quality results in various tiling projects. By following the outlined steps and adopting a meticulous approach to grouting, you can ensure a durable and visually appealing finish that stands the test of time.
