Tiling a wall is a fantastic way to refresh your space, adding both functionality and style. With the right preparation, tools, and technique, you can achieve a professional finish. This guide will take you step-by-step through the process of wall tiling, ensuring your project is seamless and stress-free.
1. Tools and Materials You’ll Need
Before you begin, gather these essential tools and materials:
- Tile Adhesive and Grout: Explore options like Kerakoll, UltraTile, and Ardex for adhesives, and check out grouts here.
- Notched Trowel: For applying adhesive evenly.
- Tile Spacers and Levelling Systems: Use Spin, T-Spin, or wedge levelling spacers for perfect alignment.
- Tile Cutter or Wet Saw: For cutting tiles to size.
- Spirit Level and Tape Measure: To ensure accuracy and alignment.
- Rubber Grout Float and Sponge: For grout application and cleanup.
2. Prepare the Surface
A well-prepared surface is critical for successful wall tiling:
- Clean the Wall: Remove dust, grease, or old adhesive.
- Repair Any Imperfections: Fill holes or cracks with filler and sand down uneven areas.
- Prime the Surface: Use a suitable primer, especially on porous walls, to improve adhesive bonding.
3. Plan the Layout
Planning ensures your tiles are symmetrical and aesthetically pleasing:
- Mark the Centre Line: Use a spirit level to draw a vertical and horizontal line through the centre of the wall.
- Dry Lay Your Tiles: Lay tiles on the floor to visualise the layout and determine the best placement for cuts.
4. Mix and Apply the Adhesive
- Mix the Adhesive: Follow the manufacturer’s instructions to achieve the right consistency.
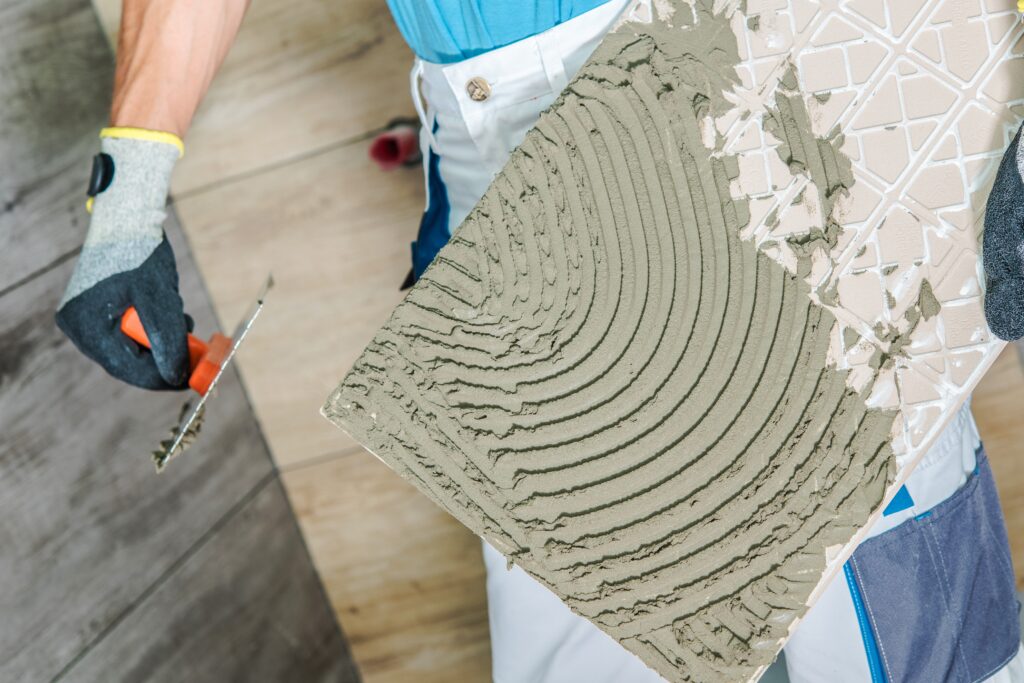
- Apply Adhesive: Use a notched trowel to spread adhesive evenly on a small section of the wall.
- Create Ridges: Hold the trowel at a 45° angle to form ridges in the adhesive, ensuring a secure bond.
5. Fix the Tiles
- Place the First Tile: Start at the bottom centre of the wall, aligning it with your guide lines.
- Add Tile Spacers: Insert spacers between tiles for consistent grout lines.
- Press and Adjust: Gently press the tile into the adhesive and adjust as needed for alignment.
- Fit Tile Trim: Fit tile trim to finish the external edges.
6. Cut Tiles to Fit Edges
For edges and corners:
- Measure the Space: Use a tape measure to mark where the tile needs cutting.
- Cut the Tile: Use a manual tile cutter or wet saw for precision.
- Check the Fit: Test the cut tile before applying adhesive.
7. Allow the Adhesive to Set
Let the adhesive cure for the time specified by the manufacturer, typically 24 hours, before proceeding to grout.
8. Grout the Tiles
- Mix the Grout: Follow the product instructions to avoid lumps.
- Apply Grout: Use a rubber float to push grout into the gaps at a 45° angle.
- Clean Excess Grout: Wipe the tiles with a damp sponge to remove excess grout, being careful not to disturb the joints.
- Buff the Tiles: Once the grout has set, polish the surface with a dry cloth.
9. Add Finishing Touches
- Seal Edges: Use silicone sealant around edges and internal corners for a watertight finish.
10. When to Call a Professional
If you’re unsure about cutting tiles, complex layouts, or achieving a level surface, hire a professional tiler. Their expertise ensures a flawless result.
Conclusion
Wall tiling is a rewarding project that transforms the look and functionality of any space. By following these steps and using the right tools and materials, you can achieve a professional finish. For high-quality adhesives, grouts, and tools, visit The Tilers Hub and explore our wide range of products.
