Removing tile adhesive can be a challenging task, but it’s essential for preparing surfaces for new tile installations or reusing old tiles. Whether you are dealing with floor tile adhesive or adhesive on tile surfaces, this guide will provide you with effective methods and techniques to get the job done.
Understanding Tile Adhesive
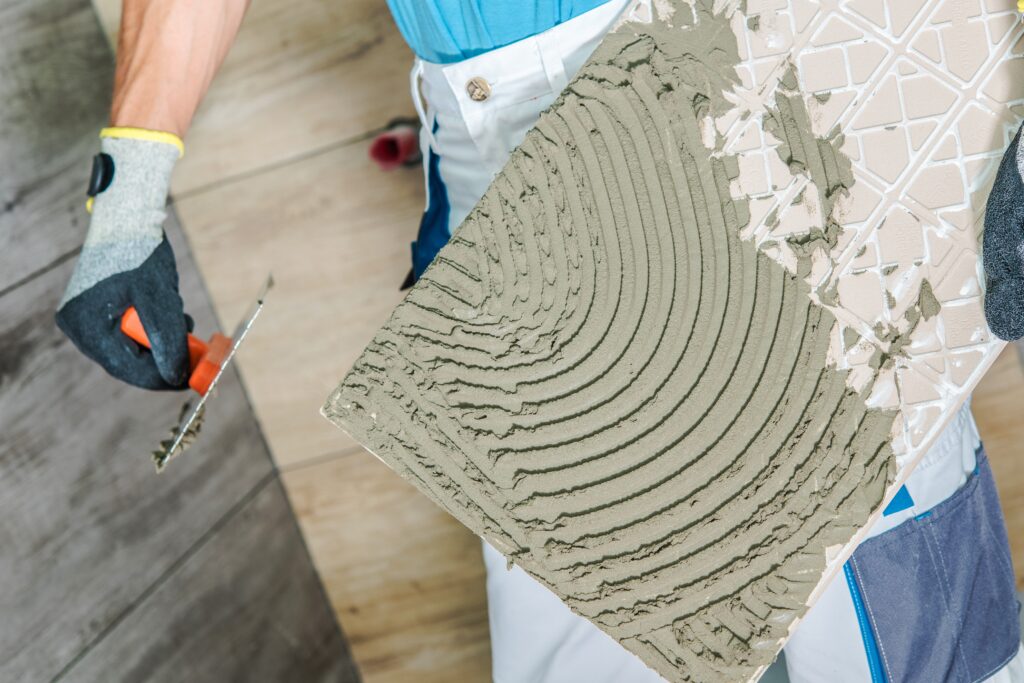
Tile adhesive, also known as thin-set or mortar, is used to bond tiles to surfaces. Over time, it hardens and becomes very difficult to remove. The process of removing tile adhesive depends on its type (cement-based, mastic, or epoxy) and the surface it adheres to.
Tools and Materials Needed
To remove tile adhesive, you will need:
- Scraper or putty knife
- Heat gun or hairdryer
- Adhesive remover or acetone
- Plastic scrub pad or sponge
- Warm soapy water
- Clean cloths or rags
- Safety gloves and goggles
- Chisel and hammer (for stubborn adhesive)
- Floor scraper (for floor adhesive)
Step-by-Step Guide to Remove Tile Adhesive
Step 1: Soften the Adhesive
Start by softening the adhesive to make it easier to remove. This can be done using a heat gun or hairdryer. Hold the heat source a few inches away from the adhesive and move it back and forth to evenly distribute the heat. Be careful not to overheat the tiles, as this can cause damage.
Step 2: Scrape Off the Adhesive
Once the adhesive is softened, use a scraper or putty knife to gently lift and scrape off the adhesive. Work carefully to avoid scratching or damaging the tile surface. For floor tile adhesive, you might need to use a floor scraper or chisel and hammer for more leverage.
Step 3: Apply Adhesive Remover
If there are still adhesive residues on the tiles, apply an adhesive remover or acetone. Follow the manufacturer’s instructions for application and safety precautions. Let the adhesive remover sit for the recommended time to break down the adhesive.
Step 4: Scrub the Tiles
After the adhesive remover has had time to work, use a plastic scrub pad or sponge to scrub the adhesive residue off the tiles. Avoid using metal scrubbers, as they can scratch the tile surface. For tough spots, apply more adhesive remover and continue scrubbing.
Step 5: Clean the Tiles
Once the adhesive is removed, clean the tiles with warm soapy water to remove any remaining adhesive remover or acetone. Use a clean cloth or sponge to wipe down the tiles, ensuring all residues are gone.
Step 6: Dry the Tiles
Finally, dry the tiles with a clean cloth or rag. Make sure the tiles are completely dry before reinstalling them or applying new adhesive.
How to Remove Floor Tile Adhesive
Removing adhesive from floor tiles can be more challenging due to the larger surface area and stronger bonding required for flooring. Here’s how to handle floor tile adhesive removal effectively:
- Use a Floor Scraper: For large areas, a floor scraper can help remove the bulk of the adhesive. Push the scraper under the adhesive and apply steady pressure to lift it off.
- Heat Application: As with tile surfaces, use a heat gun or hairdryer to soften the adhesive. This makes scraping easier and more effective.
- Chemical Adhesive Remover: For stubborn adhesive, apply a chemical adhesive remover designed for floor use. Follow the instructions carefully and ensure the area is well-ventilated.
- Chisel and Hammer: For particularly tough spots, a chisel and hammer can be used to chip away at the adhesive. Be careful to avoid damaging the underlying surface.
How to Remove Adhesive from Tiles
Removing adhesive from the surface of tiles is crucial if you plan to reuse them. Here’s a quick guide:
- Heat the Adhesive: Use a heat gun or hairdryer to soften the adhesive on the tile surface.
- Scrape Carefully: Gently use a putty knife or scraper to remove the softened adhesive. Take care not to scratch the tile.
- Chemical Remover: Apply an adhesive remover to the remaining residue and let it sit according to the instructions.
- Scrub and Clean: Use a plastic scrub pad to remove the residue, then clean the tile with warm soapy water.
- Rinse and Dry: Rinse the tiles thoroughly to remove any chemical traces and dry them with a clean cloth.
Tips for Best Results
- Work in Small Sections: Removing adhesive can be time-consuming. Work in small sections to ensure thorough removal and avoid rushing the process.
- Use Proper Safety Gear: Always wear safety gloves and goggles when working with heat sources and chemical adhesive removers to protect yourself from burns and chemical exposure.
- Test a Small Area First: Before applying adhesive remover to the entire tile, test it on a small, inconspicuous area to ensure it doesn’t damage the tile surface.
Conclusion
Removing tile adhesive from tiles and floors is a manageable DIY task with the right tools and techniques. By following the steps outlined in this guide, you can effectively remove adhesive residues and prepare your surfaces for new installations or reuse. Patience and careful work are key to achieving the best results without damaging your tiles.
For more DIY tips and tools, visit The Tilers Hub. Keep your tiles looking great and ready for their next use with these practical methods for adhesive removal.