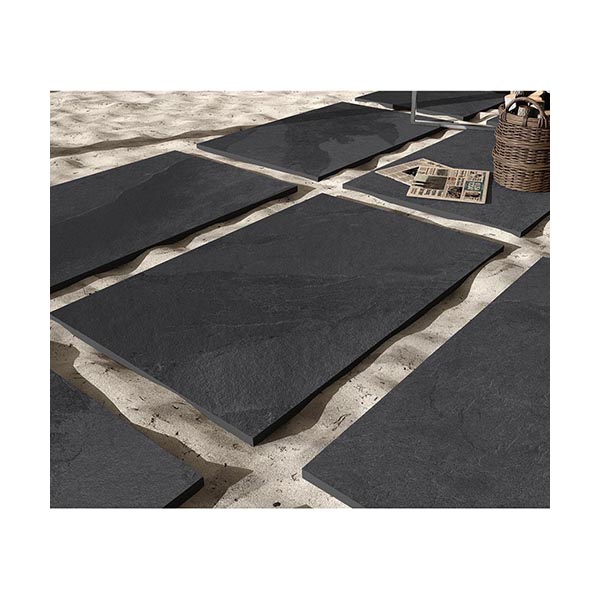
Outdoor tiling is an excellent way to elevate the look and functionality of your garden, patio, or terrace. With the rise of 20mm porcelain tiles, creating a seamless indoor-outdoor flow has become increasingly popular among homeowners. This tutorial will walk you through the key steps of outdoor tiling, whether you’re working with a concrete base or a compacted hardcore sub-base. We’ll also recommend the best materials and tools for achieving a professional and long-lasting finish.
1. Preparing the Base
a. Tiling onto a Concrete Base
A concrete base is a tried-and-true method for outdoor tiling. Here’s how to get started:
- Ensure the Base is Dry and Fully Cured: Before you begin tiling, allow the concrete base to cure for at least six weeks in dry conditions. This ensures stability and prevents issues down the line.
- Clean the Surface: Remove any dirt, dust, or loose debris from the concrete base. A clean surface is essential for strong tile adhesion.
- Apply a Slurry Primer: To improve the bond between the tile adhesive and the concrete, apply a slurry primer. We recommend using UltraScape Pro-Prime from The Tilers Hub for this step. This primer ensures a strong bond, reducing the risk of tiles lifting over time.
- Apply Tile Adhesive: Use a high-quality, flexible adhesive like UltraTile ProFlex SP, which is ideal for outdoor environments. Spread the adhesive evenly using a notched trowel, ensuring full coverage under each tile.
b. Tiling onto Hardcore
When a concrete base isn’t an option, a hardcore sub-base provides a solid foundation for outdoor tiling. Here’s how to proceed:
- Create a Compacted Stone Sub-Base: Start with 100mm of type one compacted stone, laid in two 50mm layers. Compact each layer thoroughly to create a stable base for your tiles.
- Mix and Apply Bedding Mortar: Once your sub-base is ready, apply a minimum 30mm bed of bedding mortar, such as UltraTile ProPave Mortar. Ensure the mortar is mixed properly (using a 1:6 ratio of sharp sand to cement) and applied evenly.
- Prime the Tiles: Before laying the tiles, apply a slurry primer to the back of each 20mm porcelain tile. This step is crucial for creating a strong bond between the tile and the mortar.
- Lay the Tiles: Firmly press the tiles into the bedding mortar, ensuring there is no movement. Lay the tiles with a slight gradient to allow for water drainage.
2. Choosing the Right Adhesive and Grout
a. Tile Adhesive
The choice of adhesive is key to ensuring the durability of your outdoor tiles. For a concrete base, a flexible, frost-resistant adhesive like UltraTile ProFlex SP is ideal. It’s designed to withstand outdoor conditions, ensuring your tiles remain securely in place.
For tiles laid onto a bedding mortar, applying a slurry primer such as UltraScape Pro-Prime to the back of the tiles will ensure a strong bond with the mortar.
b. Grout
Selecting the right grout is essential for preventing water ingress and maintaining the integrity of your tiled surface. For outdoor tiling, we highly recommend using Fugabella grout, a flexible and weather-resistant option that is perfect for withstanding the expansion and contraction caused by temperature changes. This grout is available in a variety of colours and is known for its durability, making it ideal for outdoor use.
For tiles laid onto a hardcore base, consider using a brush-in grout. Brush-in grout is designed for outdoor applications and can be easily applied by sweeping it into the joints of the tiles. This method is particularly useful for areas with a hardcore sub-base, where traditional grouting might not be suitable. The UltraTile ProPave is an excellent choice for this application.
3. Understanding Slurry Primer
A slurry primer is a bonding agent applied to the back of tiles before they are laid onto a mortar bed. This primer improves adhesion, ensuring that the tiles stay firmly in place even in harsh outdoor conditions. For outdoor tiling, particularly with 20mm porcelain tiles, using a slurry primer like UltraScape Pro-Prime is essential for achieving a long-lasting and durable finish.
4. Tools and Accessories
a. Tile Spacers
Consistent spacing between tiles is crucial for both aesthetic appeal and functionality. Using outdoor tile spacers will help maintain even gaps, ensuring that your tiles are laid out uniformly. This also allows for proper grouting, which is essential for the durability of your tiled surface.
b. Tile Cutters for 20mm Porcelain
Cutting 20mm porcelain tiles requires precision and strength. Regular tile cutters might struggle with the thickness of these tiles, so it’s recommended to use a specialised tile cutter for 20mm porcelain. These cutters are designed to handle the robustness of porcelain, ensuring clean cuts and reducing the risk of tile breakage.
5. Finishing Touches
After laying your tiles and allowing the grout to set, you may want to add a finishing touch by sealing the grout lines. This additional step provides extra protection against moisture and extends the life of your tiled surface.
If your tiles require levelling, using an outdoor levelling compound can help achieve a perfectly level surface, especially if the base wasn’t entirely even.
Conclusion
Outdoor tiling is an excellent way to enhance your outdoor spaces, providing both style and functionality. By following these steps and using the right materials and tools, you can achieve a professional finish that will stand the test of time. Whether you’re tiling onto a concrete base or a hardcore sub-base, careful preparation and attention to detail are key.
For all your outdoor tiling needs, from bedding mortar to tile cutters, visit The Tilers Hub for top-quality products that ensure a durable and beautiful finish.
