If you’re looking for a reliable and durable subfloor solution, tongue and groove (T&G) cement boards are an excellent choice. At The Tilers Hub, we stock high-quality 18mm and 22mm T&G cement boards from NoMorePly and Cembloc, perfect for both residential and commercial applications. This guide will take you through the correct method for installing these boards, ensuring a solid, long-lasting foundation for your tiling or flooring project.
Why Choose Tongue and Groove Cement Boards?
Tongue and groove cement boards provide:
- Superior Strength – Ideal for high-traffic areas.
- Moisture Resistance – Perfect for wet areas like bathrooms and kitchens.
- Stable Subfloor – Reduces movement, preventing tile and grout cracking.
- Easy Installation – The interlocking design ensures a seamless and sturdy fit.
Materials & Tools Needed:
- 18mm or 22mm NoMorePly or Cembloc TG4 boards
- Slow Set MegaStrength PU Adhesive
- NoMorePly 50mm Fibre Cement Screws
- Power drill with Phillips bit
- Tape measure
- Spirit level
- Carpenter’s pencil
- Safety gloves and eye protection
Step-by-Step Installation Guide
Step 1: Preparing the Subfloor
Ensure that the subfloor is clean, dry, and free from dust or debris. Any uneven areas should be leveled before installation. The subfloor must be structurally sound, with joists spaced correctly:
- 18mm boards – Joists must be no more than 400mm apart.
- 22mm boards – Joists can be up to 600mm apart.
Step 2: Stagger the Joints
To enhance the structural integrity of the floor, always stagger the joints in a brick bond pattern rather than aligning them in a straight line.
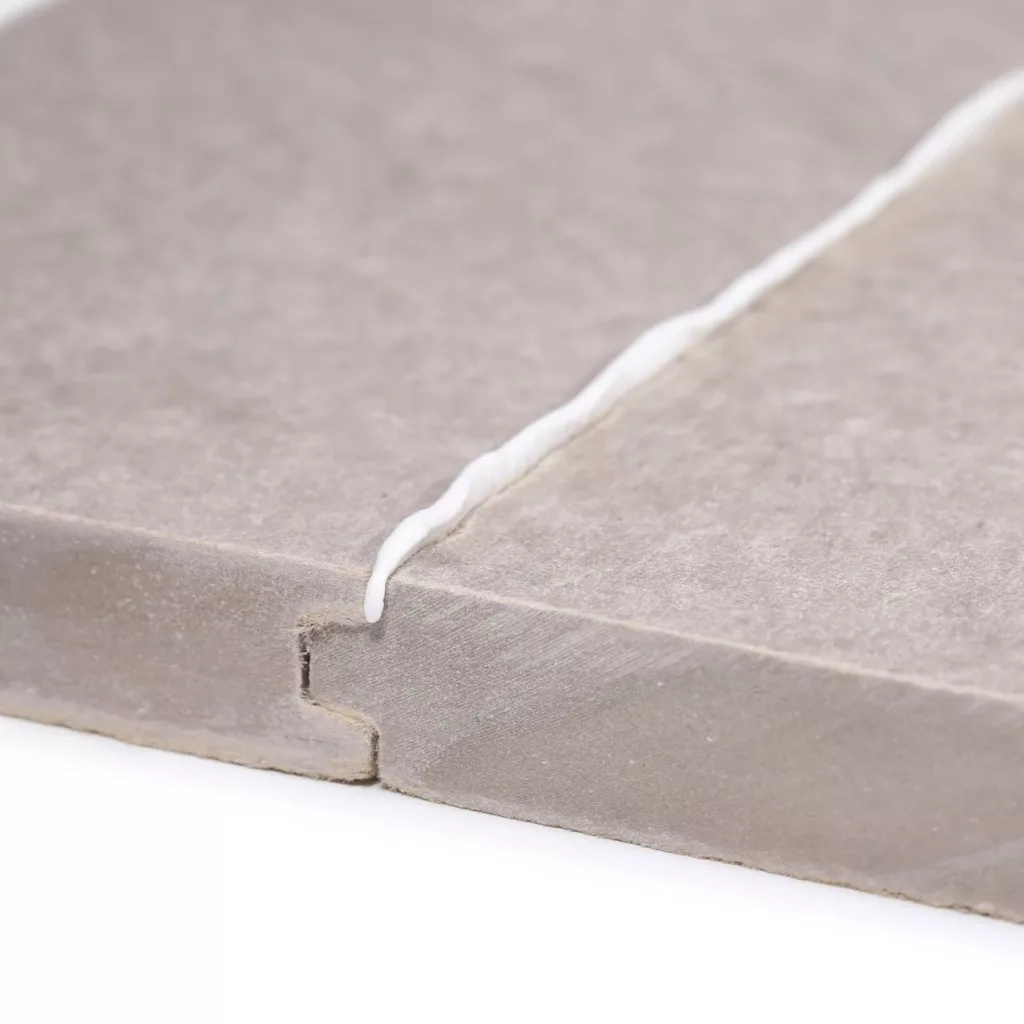
Step 3: Applying Adhesive to Joints
- Use Slow Set MegaStrength PU Adhesive or if you work a little faster you can use Mega Strength Adhesive on all tongue and groove joints to create a secure bond.
- Apply the adhesive evenly and ensure complete coverage on both the tongue and groove.
- Press the boards together firmly to ensure a tight fit.
Step 4: Securing the Boards to Joists
- Position each board so that it sits squarely on the joists.
- Apply a thin line of adhesive along all areas where the board contacts the joists.
- Using a power drill, secure each board with two 50mm Fibre Cement Screws per joist.
- Ensure the screws are driven flush with the surface but do not over-tighten to avoid damaging the board.
Step 5: Checking for Level
- After installing each board, use a spirit level to ensure an even surface.
- Adjust if necessary before proceeding with the next board.
Step 6: Sealing & Finishing
- Remove any excess adhesive before it dries.
- Allow the adhesive to fully cure (typically 24 hours) before proceeding with tiling or other flooring installations.
Final Tips for a Perfect Installation
✔ Always wear gloves when handling cement boards, as edges can be sharp.
✔ Work methodically, checking alignment after securing each board.
✔ If cutting is necessary, use a score and snap method or a circular saw fitted with a cement board blade.
✔ Allow proper ventilation when using adhesives to ensure optimal curing.
Where to Buy Tongue and Groove Cement Boards
At The Tilers Hub, we supply premium NoMorePly and Cembloc T&G cement boards in 18mm and 22mm sizes. Browse our selection today to find the perfect solution for your next flooring project.
Need more advice? Contact our expert team for guidance on selecting the best materials for your installation.
Shop Now: NoMorePly TG4 Boards | Cembloc TG4 Boards