Fibre cement TG4 floorboards are an exceptional choice for both residential and commercial spaces that require durable, water-resistant, and non-combustible flooring. These boards offer several advantages over traditional materials like chipboard and plywood, making them ideal for a variety of applications including bathrooms, kitchens, and areas with underfloor heating. This blog post will guide you through the installation process and answer some common questions regarding the use of TG4 floorboards.
Benefits of Fibre Cement TG4 Floorboards
Fibre cement TG4 floorboards are designed to provide a strong, stable, and long-lasting flooring solution. Some of the key benefits include:
- High Durability: Made from a mix of Portland cement, sand, cellulose fibres, and water, these boards are resistant to rot, swelling, warping, and delamination.
- Water Resistance: Suitable for wet areas such as bathrooms and kitchens.
- Fire Resistance: Rated as Euro Class A1, making them non-combustible and ideal for fireproof floors.
- Thermal Conductivity: Excellent for use with underfloor heating systems.
- Quick Installation: The tongue and groove design on all four sides allows for easy installation with minimal waste.
Installation Steps
1. Preparation
Before starting the installation, ensure you have all necessary tools and materials:
- TG4 floorboards (22mm or 18mm)
- Circular saw with a PCD blade
- Vacuum extractor
- Polyurethane adhesive
- Fibre cement screws (50mm)
- Gloves and safety gear
2. Cutting the Boards
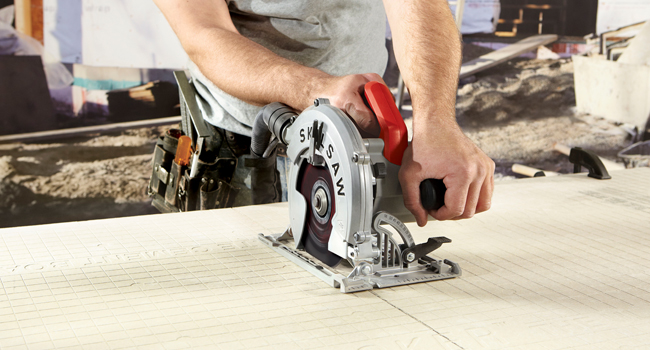
Cut the TG4 boards to size using a circular saw equipped with a vacuum extractor and a PCD blade. Always use vacuum extraction to minimise dust and wear gloves for safety.

3. Fixing the Boards to Joists
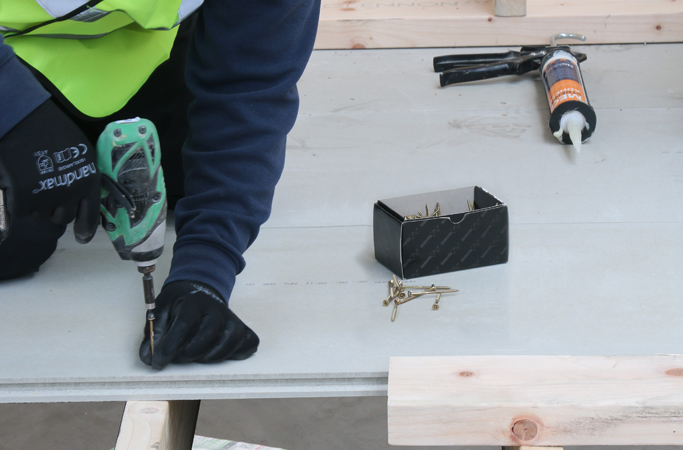
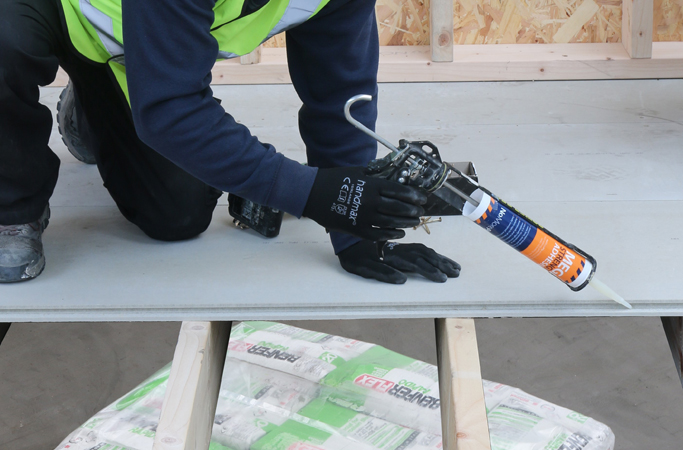
For 22mm boards, fix to timber or steel joists at maximum 600mm centres, and for 18mm boards, at 450mm centres. Apply a bead of polyurethane adhesive to the joists before positioning the boards. Secure each board with two 50mm fibre cement screws per joist, ensuring screws are placed at least 25mm from the tongue and groove edge.


4. Joining the Boards
Lay the boards in a brick bond pattern. Apply adhesive to the groove of each board before joining. Tongue and groove joints do not need to end on a joist, but all square edges should be fully supported.
Common Questions
Can You Tile Directly on 18mm and 22mm TG4 Boards?
Yes, you can tile directly on both 18mm and 22mm TG4 floorboards. These boards are designed to provide a strong and stable base for tiling without the need for additional layers.
What Further Preparation Do You Need to Lay LVT Flooring?
For laying luxury vinyl tile (LVT) flooring over TG4 boards, you should ensure the surface is clean and free of dust. It may be necessary to use a levelling compound to eliminate any lippage (unevenness) on the surface to achieve a smooth finish.
What Joist Centres Do You Need for Fibre Cement Floorboards?
For 22mm TG4 boards, joists should be spaced at a maximum of 600mm centres. For 18mm TG4 boards, joists should be spaced at a maximum of 450mm centres. This ensures adequate support and stability for the floorboards.
How to Have a Floor That Doesn’t Squeak?
Providing you follow the installation steps using fibre cement boards will give you a squeak free floor as it doesn’t expand and contract like traditional timber floors.
What Boards Do You Need for a Fireproof Floor?
For a fireproof floor, use TG4 floorboards, which are rated Euro Class A1 non-combustible. These boards are ideal for areas that require enhanced fire resistance, providing peace of mind in both residential and commercial settings.
Additional Tips
- Storage: Store TG4 boards flat and protect them from excessive humidity and temperature changes. As they are water resistant they can be exposed to the elements for a limited amount of time.
- Manual Handling: Boards are designed for easy handling, but always carry them on their side to avoid damage.
Conclusion
Fibre cement TG4 floorboards are a superior choice for creating durable, water-resistant, and fireproof floors. Their ease of installation and compatibility with various flooring finishes make them an ideal solution for both new builds and renovations. By following the installation steps and tips outlined in this guide, you can achieve a high-quality floor that stands the test of time.