Tile backer boards are essential for creating a stable, moisture-resistant foundation for tiling projects in areas such as bathrooms, kitchens, and other high-moisture environments. This guide will provide detailed instructions on fitting tile backer boards to various types of walls, ensuring your tiling projects are durable and long-lasting. We will cover the installation process for both stud walls and masonry walls, and how to construct a new wall using tile backer boards. Following these steps will help you achieve a professional finish in your tiling projects.
Item List
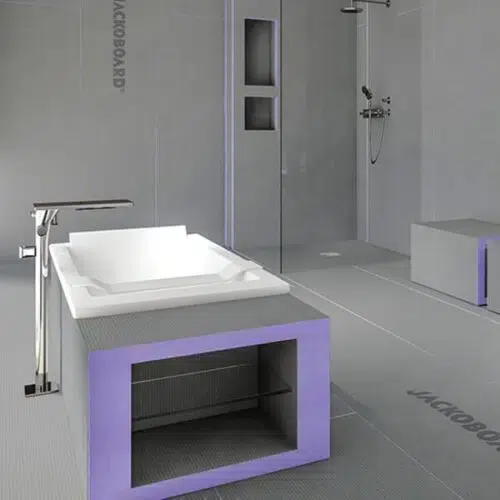
- Tile backer boards (appropriate thickness for your project)
- Utility knife or saw
- Measuring tape
- Spirit level
- Galvanized steel washers and screws
- Cement-based single-part flexible tile adhesive
- Notched trowel (5-8mm)
- Rubber mallet
- Metal dowels (JACKOBOARD® Metal Disc Plugs)
- Alkaline-resistant glass fibre tape or waterproof tape
- Drill and 8mm drill bit
- Primer (if necessary)
- Boardfix adhesive or similar solvent-free PU-based adhesive
How to Fit Tile Backer Boards on a Stud Wall
- Preparation: Ensure the stud frame is correctly installed and stable. The distance between the studs should be 600mm for 20mm thick boards or 300mm for 10-12.5mm thick boards. Check the studs for any warping or damage and replace if necessary.
- Cutting the Boards: Measure and cut the tile backer boards to fit the wall dimensions. Use a utility knife or saw for precise cuts.
- Fixing the Boards:
- Position the boards on the stud frame and secure them using galvanized steel washers and appropriate screws.
- If using 20mm thick boards on 600mm cantered studs, arrange the fastening points as per the manufacturer’s instructions. For thinner boards on closer studs, follow the specific fastening layout.
- Ensure the screws and washers are evenly spaced to provide a firm hold.
- Sealing the Joints: Once the boards are fixed, seal the joints with an alkaline-resistant glass fibre tape in dry areas. For wet areas, use waterproof tape and cement-based single-part flexible tile adhesive.
- Tiling: After sealing the joints, you can begin tiling using a cement-based single-part flexible tile adhesive. Ensure the adhesive is applied evenly to prevent tiles from lifting.
How to Fit Tile Backer Boards on a Masonry Wall
- Preparation: Clean the masonry wall to remove any dust, dirt, or loose material. Check the wall for any structural issues and repair them before proceeding. Apply a primer if necessary to improve adhesion.
- Cutting the Boards: Measure and cut the tile backer boards to fit the wall dimensions.
- Applying Adhesive:
- On flat walls, apply a continuous bed of cement-based single-part flexible adhesive using a 5-8mm notched trowel.
- For uneven walls, use the ‘dot and dab’ method. Apply dabs of adhesive at regular intervals to accommodate the wall’s unevenness.
- Fixing the Boards:
- Press the boards firmly into the adhesive. Use a spirit level to ensure the boards are level and flush.
- For additional security, drill through the boards and fix them with metal dowels once the adhesive has cured. Use JACKOBOARD® Metal Disc Plugs, ensuring the plugs penetrate the wall by at least 35mm.
- Sealing the Joints: As with stud walls, seal the joints with appropriate tape and adhesive based on the area’s moisture levels.
- Tiling: Once the joints are sealed, you can begin tiling using a cement-based single-part flexible tile adhesive.
How to Build a Wall Out of Tile Backer Boards
- Planning: Determine the dimensions and layout of the new wall. Ensure the wall’s design accommodates any load-bearing requirements and local building regulations.
- Cutting the Boards: Measure and cut the tile backer boards to the required sizes.
- Constructing the Wall:
- For free-standing walls, use at least 50mm thick tile backer boards. For walls up to 1200mm high, bonding two 600mm wide boards together can provide additional stability.
- Secure the base of the wall to the floor using U-profiles and appropriate fasteners.
- Fix the boards together using Boardfix adhesive or another suitable solvent-free PU-based adhesive.
- Sealing and Finishing:
- Seal all joints with an alkaline-resistant glass fibre tape or waterproof tape, depending on the wall’s location.
- Ensure one side of the wall is tiled to provide sufficient stability. The other side can be covered with plaster or render for aesthetic and load-bearing purposes.
- Tiling: After sealing the joints, you can begin tiling using a cement-based single-part flexible tile adhesive.
Final Thoughts
Properly fitting tile backer boards is crucial for the longevity and stability of your tiling projects. By following these detailed instructions, you can ensure your walls are well-prepared for tiling, whether working with stud walls, masonry walls, or constructing new walls from scratch. Always use high-quality materials and adhere to the manufacturer’s guidelines for the best results.
By doing so, you can achieve a professional finish that enhances the durability and appearance of your tiled surfaces.