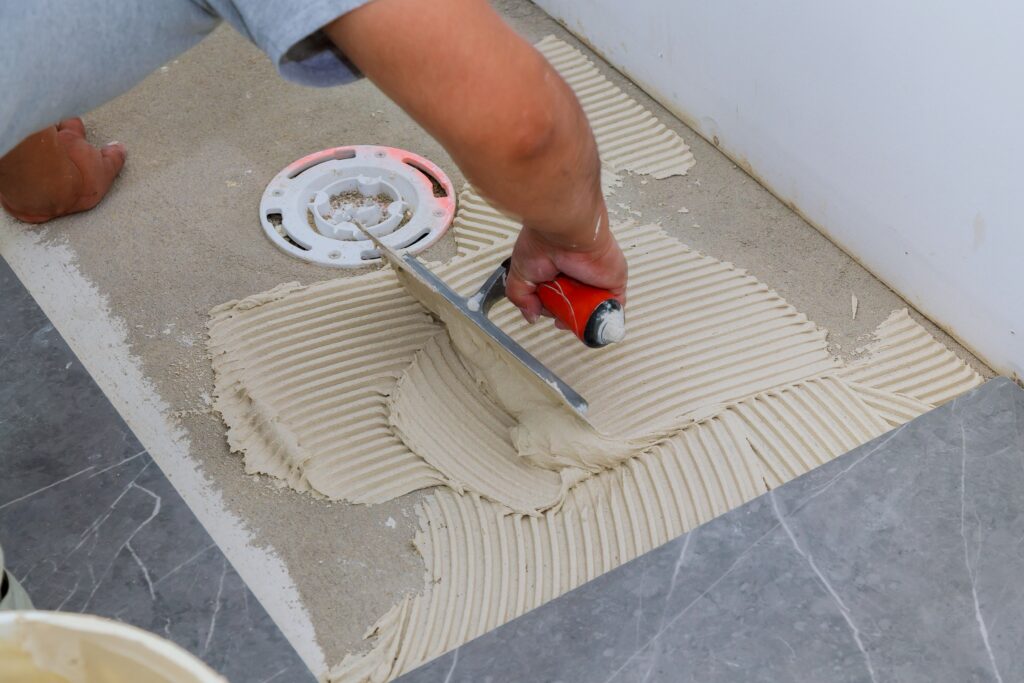
Tackling complex tiling projects requires not just skill and precision but also an in-depth understanding of the materials you’re working with, especially the tile adhesive. Whether you’re dealing with large format tiles, intricate patterns, or challenging surfaces, the right techniques can make a significant difference in the outcome of your project. Here are advanced tips for using tile adhesive effectively in complex tiling projects, designed to help professionals and ambitious DIYers achieve flawless results.
1. Choosing the Right Adhesive
- Analyze the Substrate: Different surfaces may require different types of adhesive. For instance, an anhydrite screed demands an adhesive with specific properties, like Ardex X7G, which is designed for use on gypsum-based screeds.
- Consider Tile Type and Size: Large format tiles benefit from a high-performance adhesive with a non-slip formula, such as Kerakoll H40 Gel. This ensures the tiles don’t sag or slip during the curing process.
2. Preparing the Surface
- Ensure Optimal Conditions: The surface must be clean, dry, and level. Use a primer if necessary, like UltraTile ProPrimer, to enhance the adhesive bond to the substrate.
- Create a Flat Base: For uneven surfaces, consider applying a self-levelling compound before tiling. A perfectly flat base is crucial for large tiles and intricate patterns.
3. Mixing the Adhesive Correctly
- Follow Manufacturer Instructions: Each adhesive has its mixing ratio. For complex projects, the consistency of the adhesive can be pivotal, especially when working with demanding materials like porcelain or natural stone.
- Achieve the Right Consistency: The adhesive should be neither too runny nor too thick. A toothpaste-like consistency allows for better manipulation and adherence.
4. Applying the Adhesive
- Back-Buttering: For large format tiles, apply adhesive to both the substrate and the tile. This technique, known as back-buttering, ensures full coverage and a strong bond.
- Use the Correct Trowel: The size and shape of the trowel notches should match the tile size and type. Larger tiles require larger notches to distribute the adhesive evenly and support the tile weight.
5. Managing Drying and Curing Times
- Work in Manageable Sections: Only spread as much adhesive as you can tile within the open time. This prevents the adhesive from skinning over, which can compromise the bond.
- Account for Environmental Factors: Temperature and humidity can affect drying times. In hot, dry conditions, the adhesive dries faster. Adjust your working method accordingly, and use products like Tilemaster FlexiRapid, which are formulated to perform well under a wide range of conditions.
6. Navigating Complex Patterns and Shapes
- Dry Layout: Before applying adhesive, lay out your tiles to ensure the pattern aligns correctly. This step is crucial for intricate designs and mosaic work.
- Precision Cutting: Complex projects often require precise cuts. Invest in a high-quality tile cutter and make practice cuts on extra tiles to ensure perfection.
7. Dealing with Movement and Expansion
- Incorporate Movement Joints: Especially important for large areas or where different substrates meet. Use a flexible, high-quality silicone sealant in these joints to allow for expansion and contraction without cracking the tile.
8. Testing and Tweaking
- Sample Area: If possible, test your technique and adhesive on a small, inconspicuous area first. This allows you to adjust your method before committing to the entire project.
Conclusion
Complex tiling projects challenge even the most experienced professionals, but mastering the use of tile adhesive can significantly enhance the quality and durability of your work. By choosing the right products, like those from Ardex, Kerakoll, UltraTile, and Tilemaster, and applying these advanced techniques, you can tackle any project with confidence. Remember, the key to success lies in preparation, precision, and patience. Happy tiling!
